It's dangerous to give a veggie gardener like me time to think and dream too much sometimes. When you allow gardeners time to think and enter into this land of dreaming you will find all sorts of plans being developed. What tends to happen is that your partner finds that she may have to make room for some more garden beds or yet another Lemonade tree or you may find that you have to explain why there are all of these potted plants miraculously appearing in the back yard. True to form, last weekend I somehow found myself explaining the merits of greenhouses. Not the big walk-in ones that will take up a corner of the back yard, nothing that elaborate - but the merits of a small greenhouse that young seedlings can be germinated in so that they can get a head start to the season.
It's been quite cold, wet and miserable here in the Hunter lately and I often find myself standing at the window drinking my hot coffee and gazing out at all of the empty spaces in the veggie patch that need filling up. I am getting a bit twitchy! Yep, I am finding that I need to plant stuff! I have to keep reminding myself that it's still a bit too early to plant and I will be wasting my time and effort. The schedules have all been worked out for the season and I have to just wait. Sigh.......
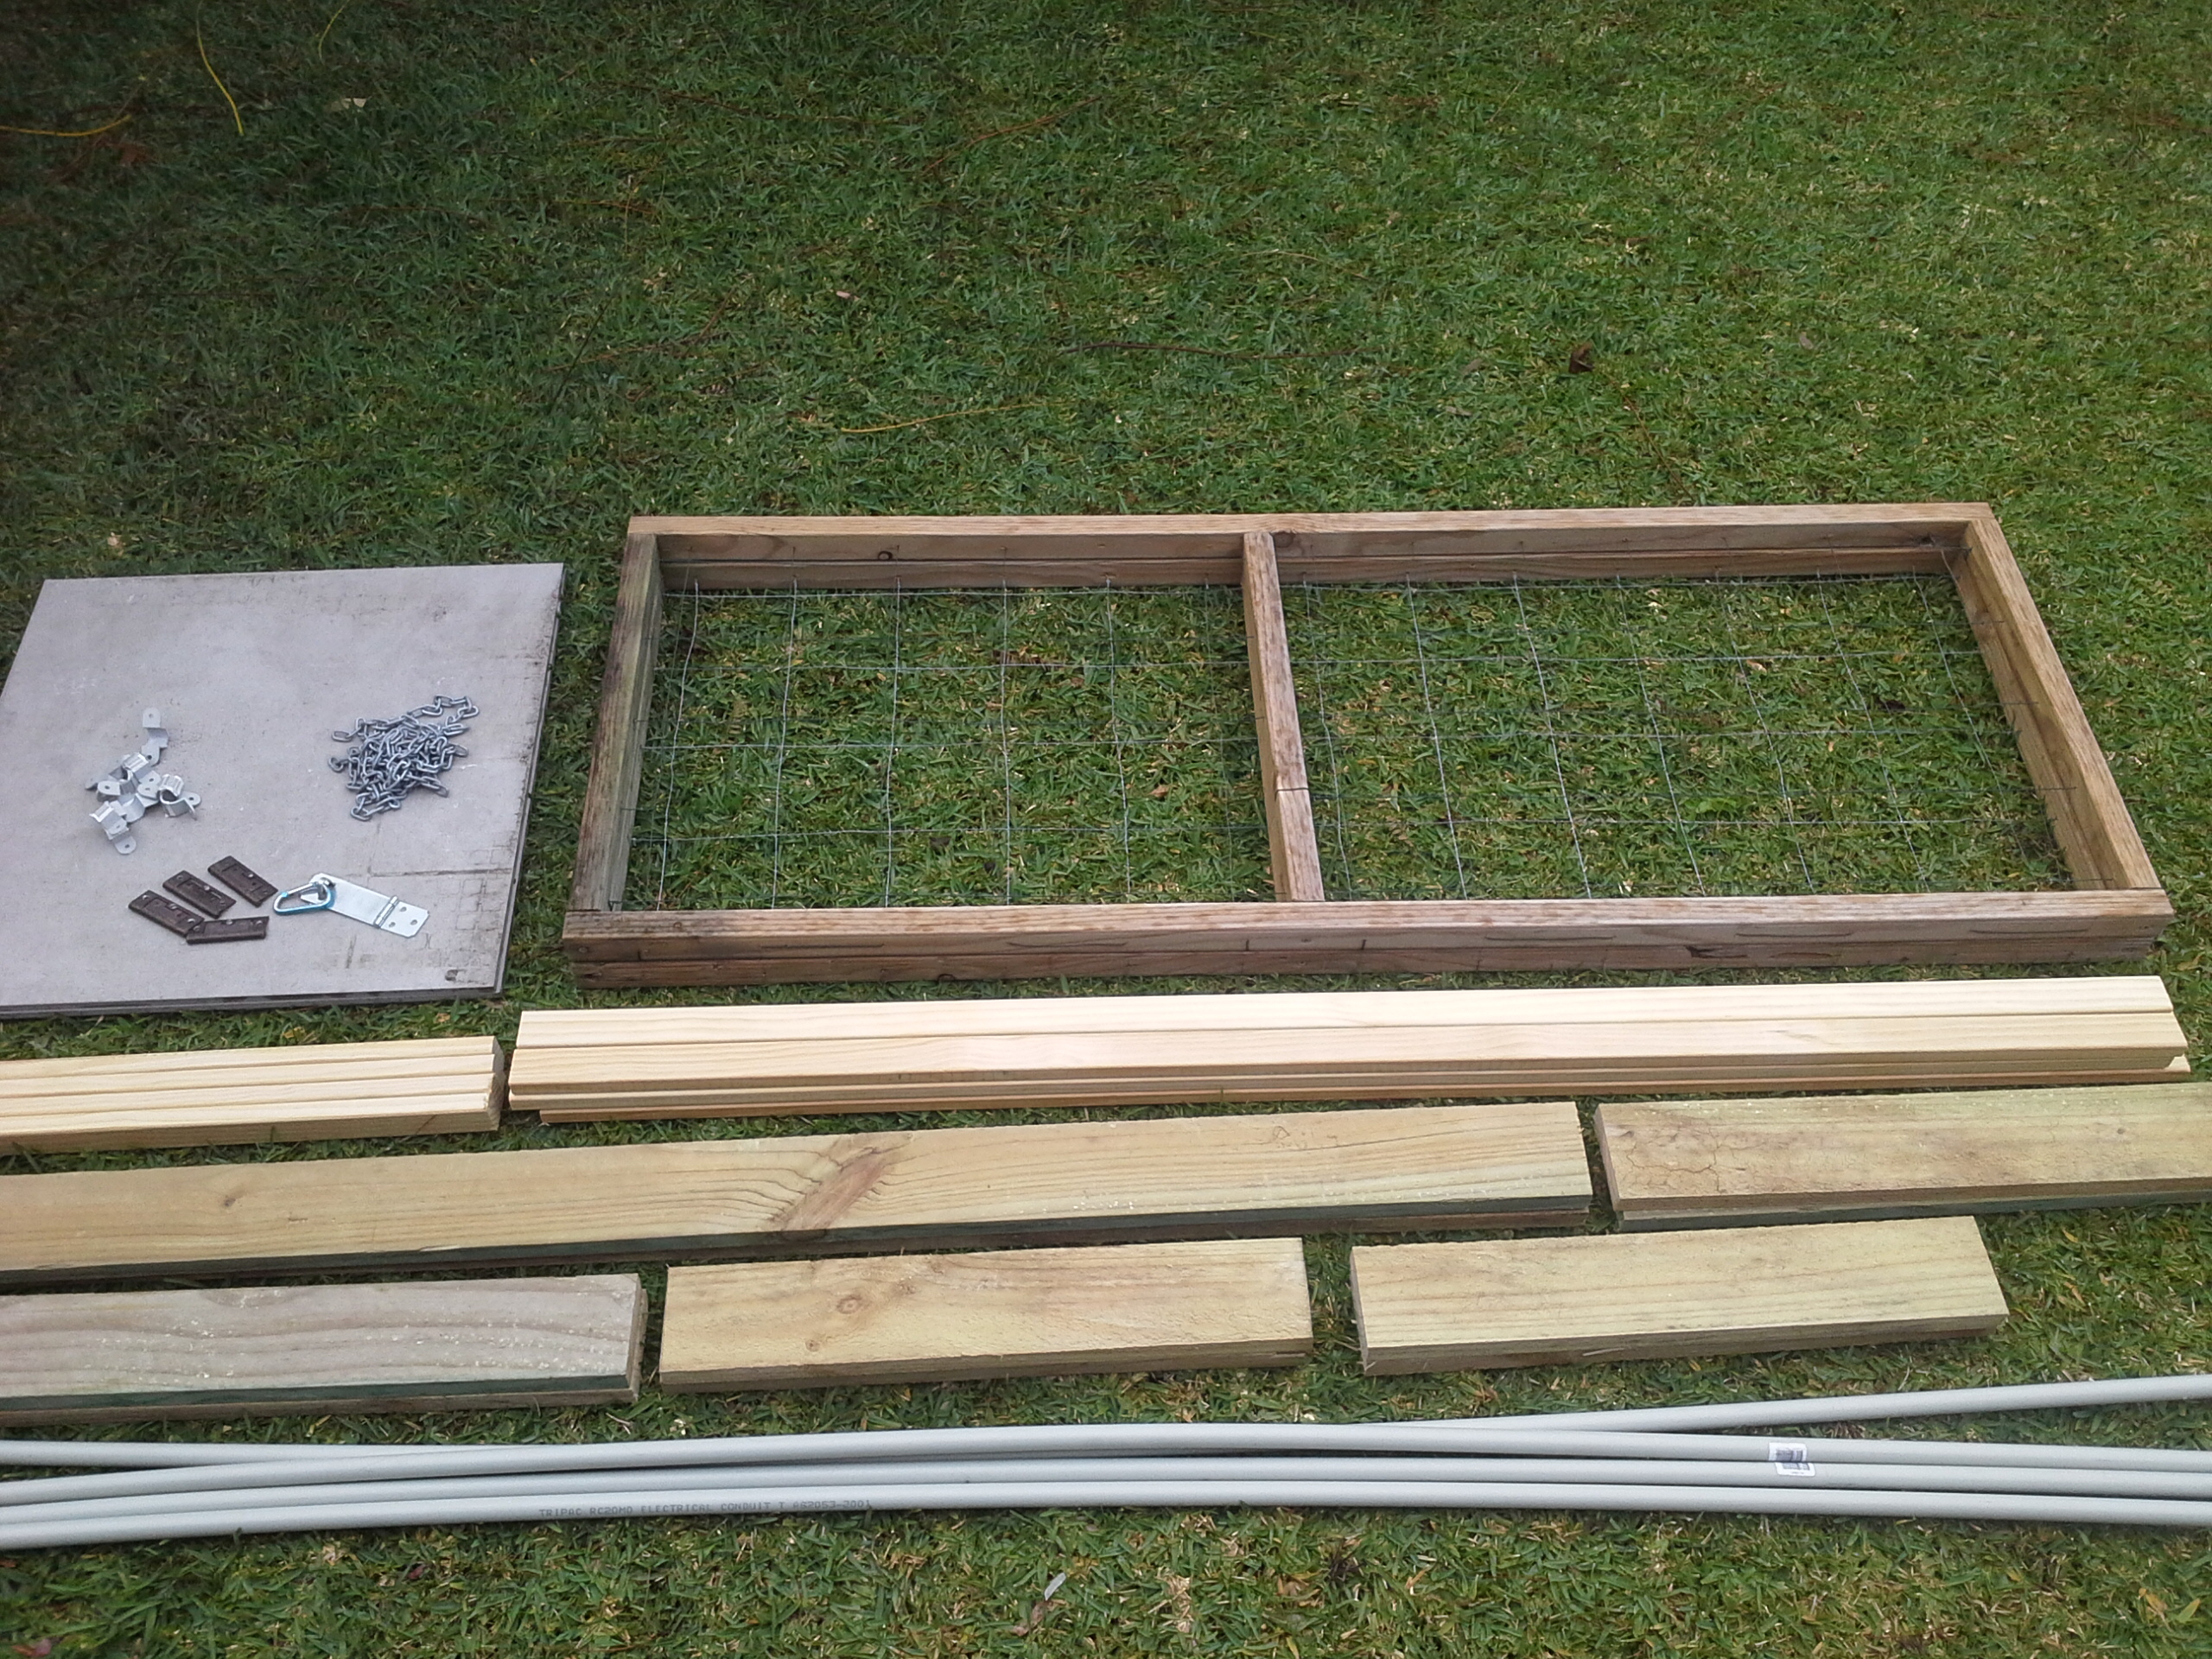
So I got onto the internet to find what was available in the local area regarding greenhouses. I found some that were quite cheap at $30 but they looked so flimsy that I would be too scared of them blowing away if the cat sneezed in the general direction. There were also some that cost $250 which really did not look worth the money you had to pay. So I decided that I would build my own. I am not scared to whip out the carpentry tools and have a crack at building something from scratch on occasion. First thing I did was to look around at the materials I have around the place to see what I could use. I found a few pieces of treated timber, some large floor tiles, hinges, chain, a couple of wooden frames that I use as growing supports and plenty of nails and screws. I had to buy a couple of lengths of treated pine, 2 lengths of electrical conduit and some plastic sheet and bingo, enough material to build a small greenhouse! No plans on paper could be found but there was an absolutely brilliant blueprint in my head. I had to just translate the blueprint into reality.
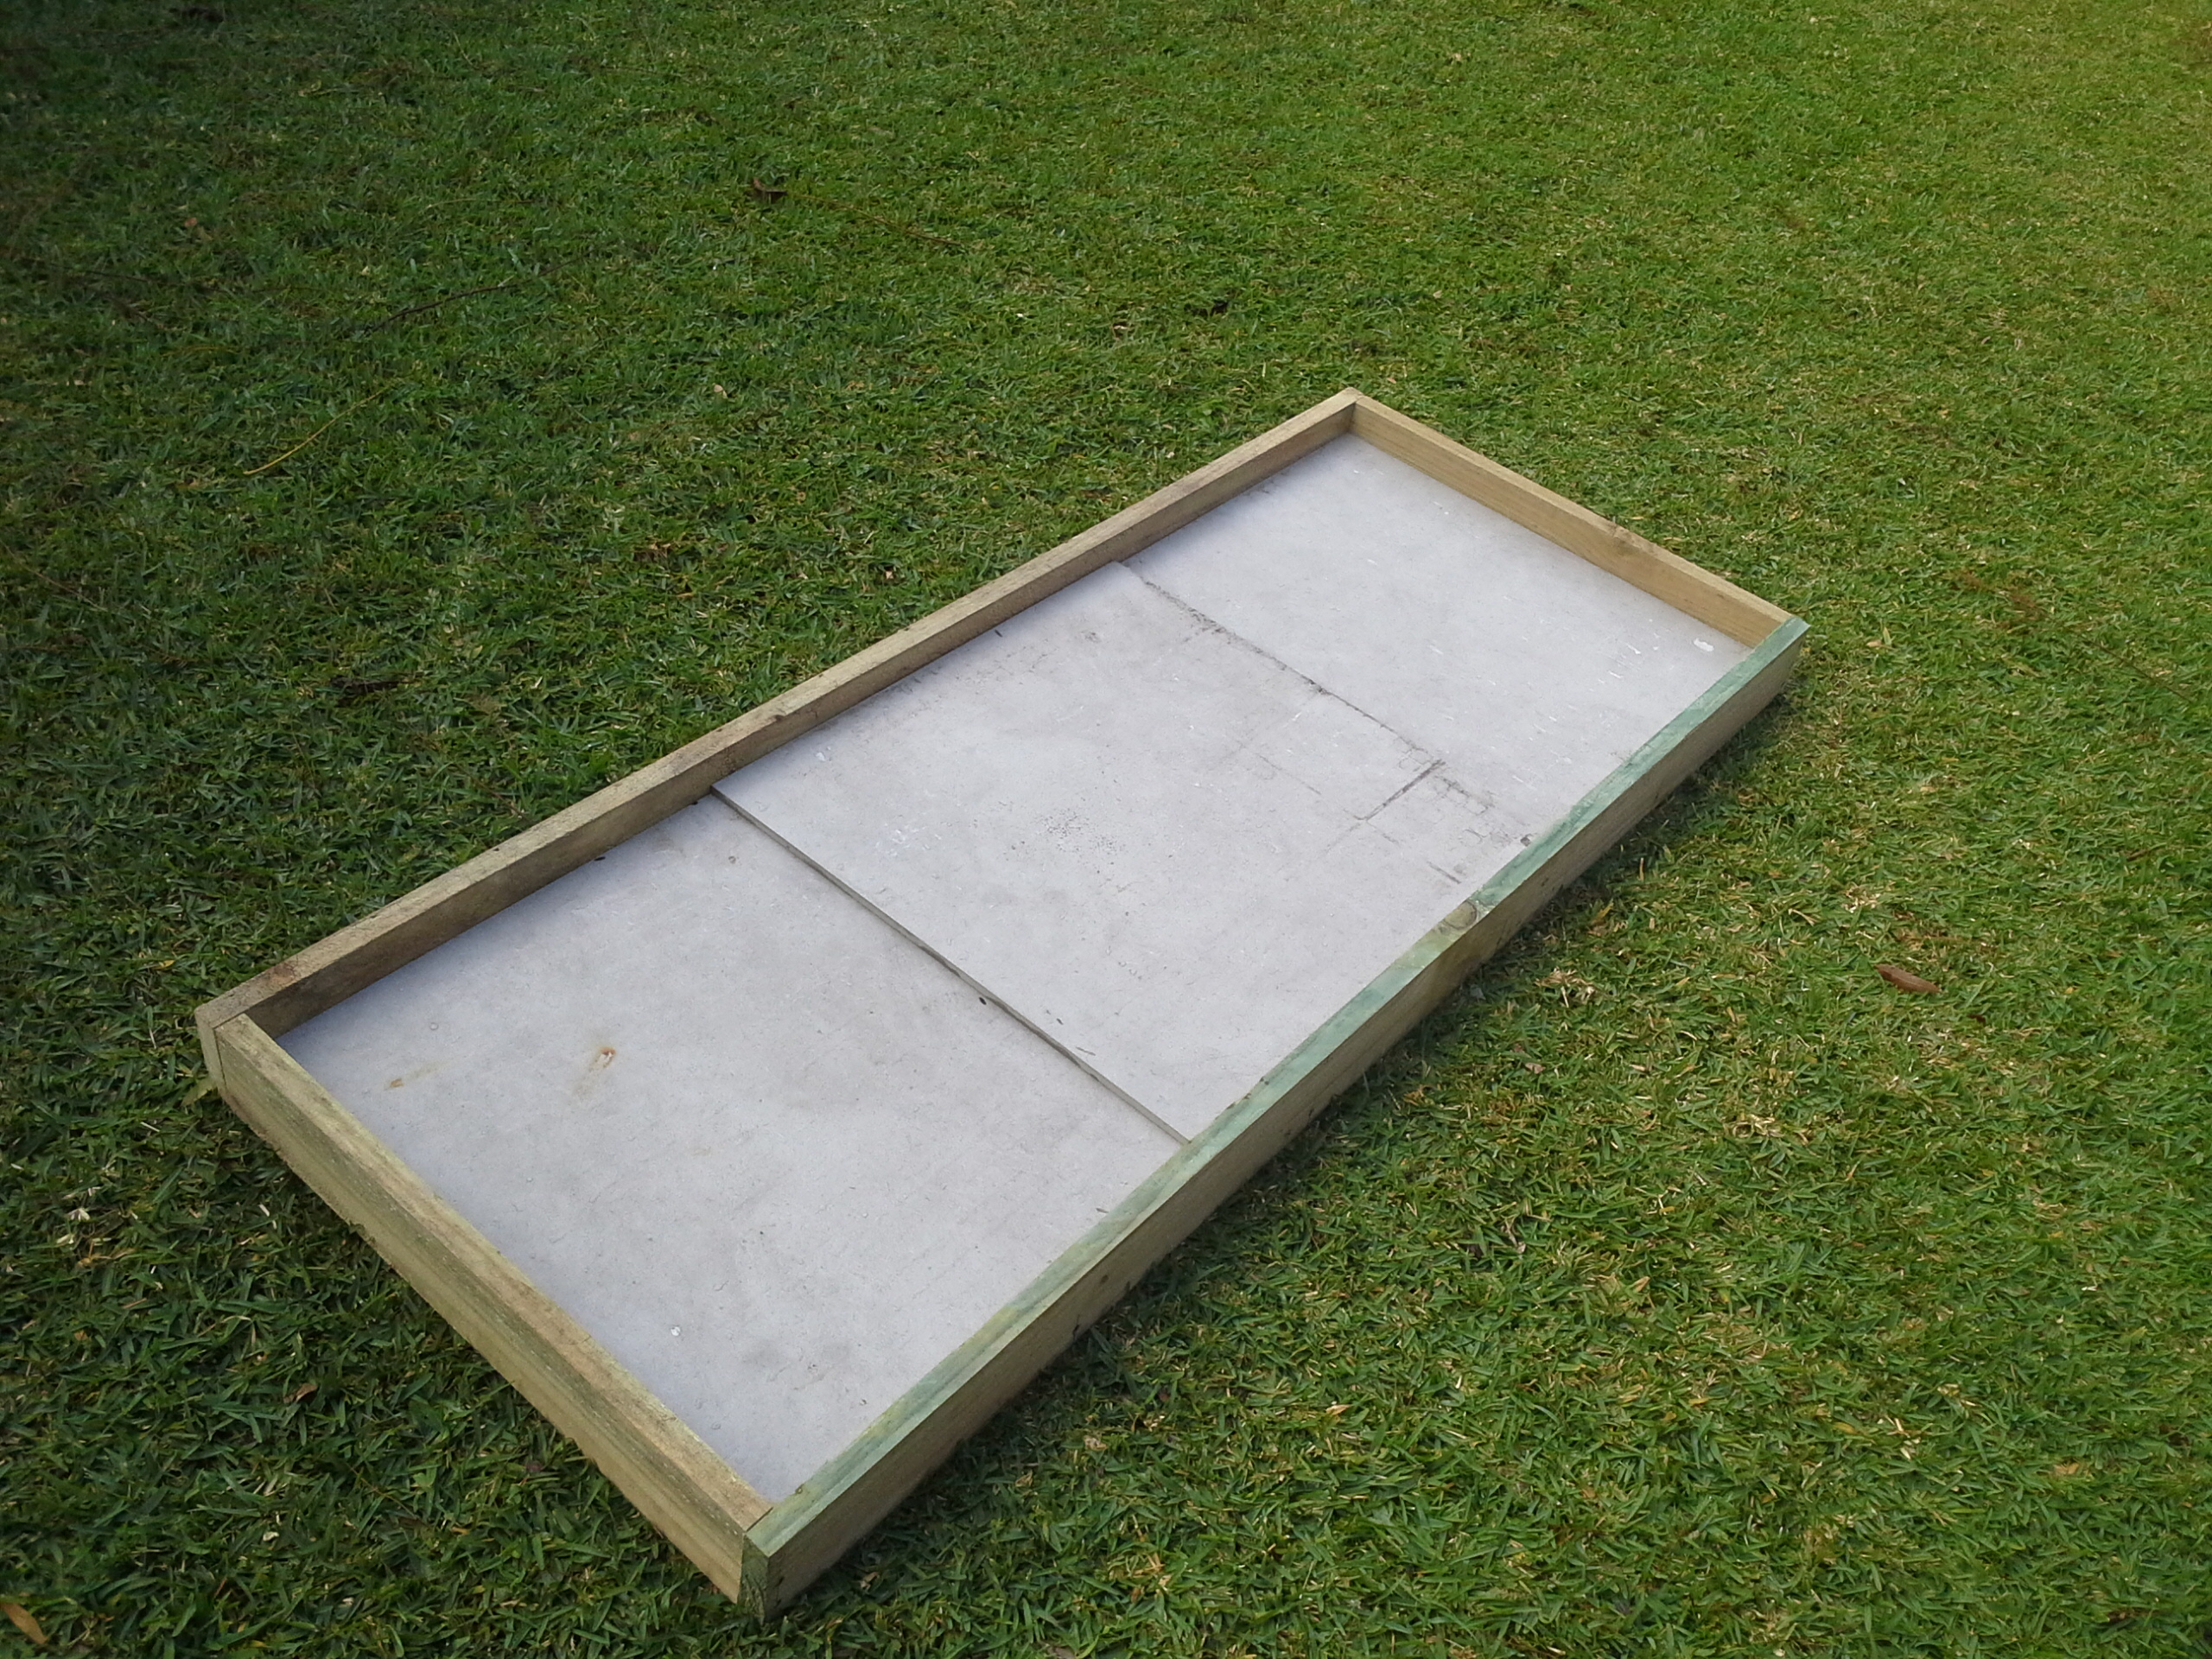
Here is what I did:
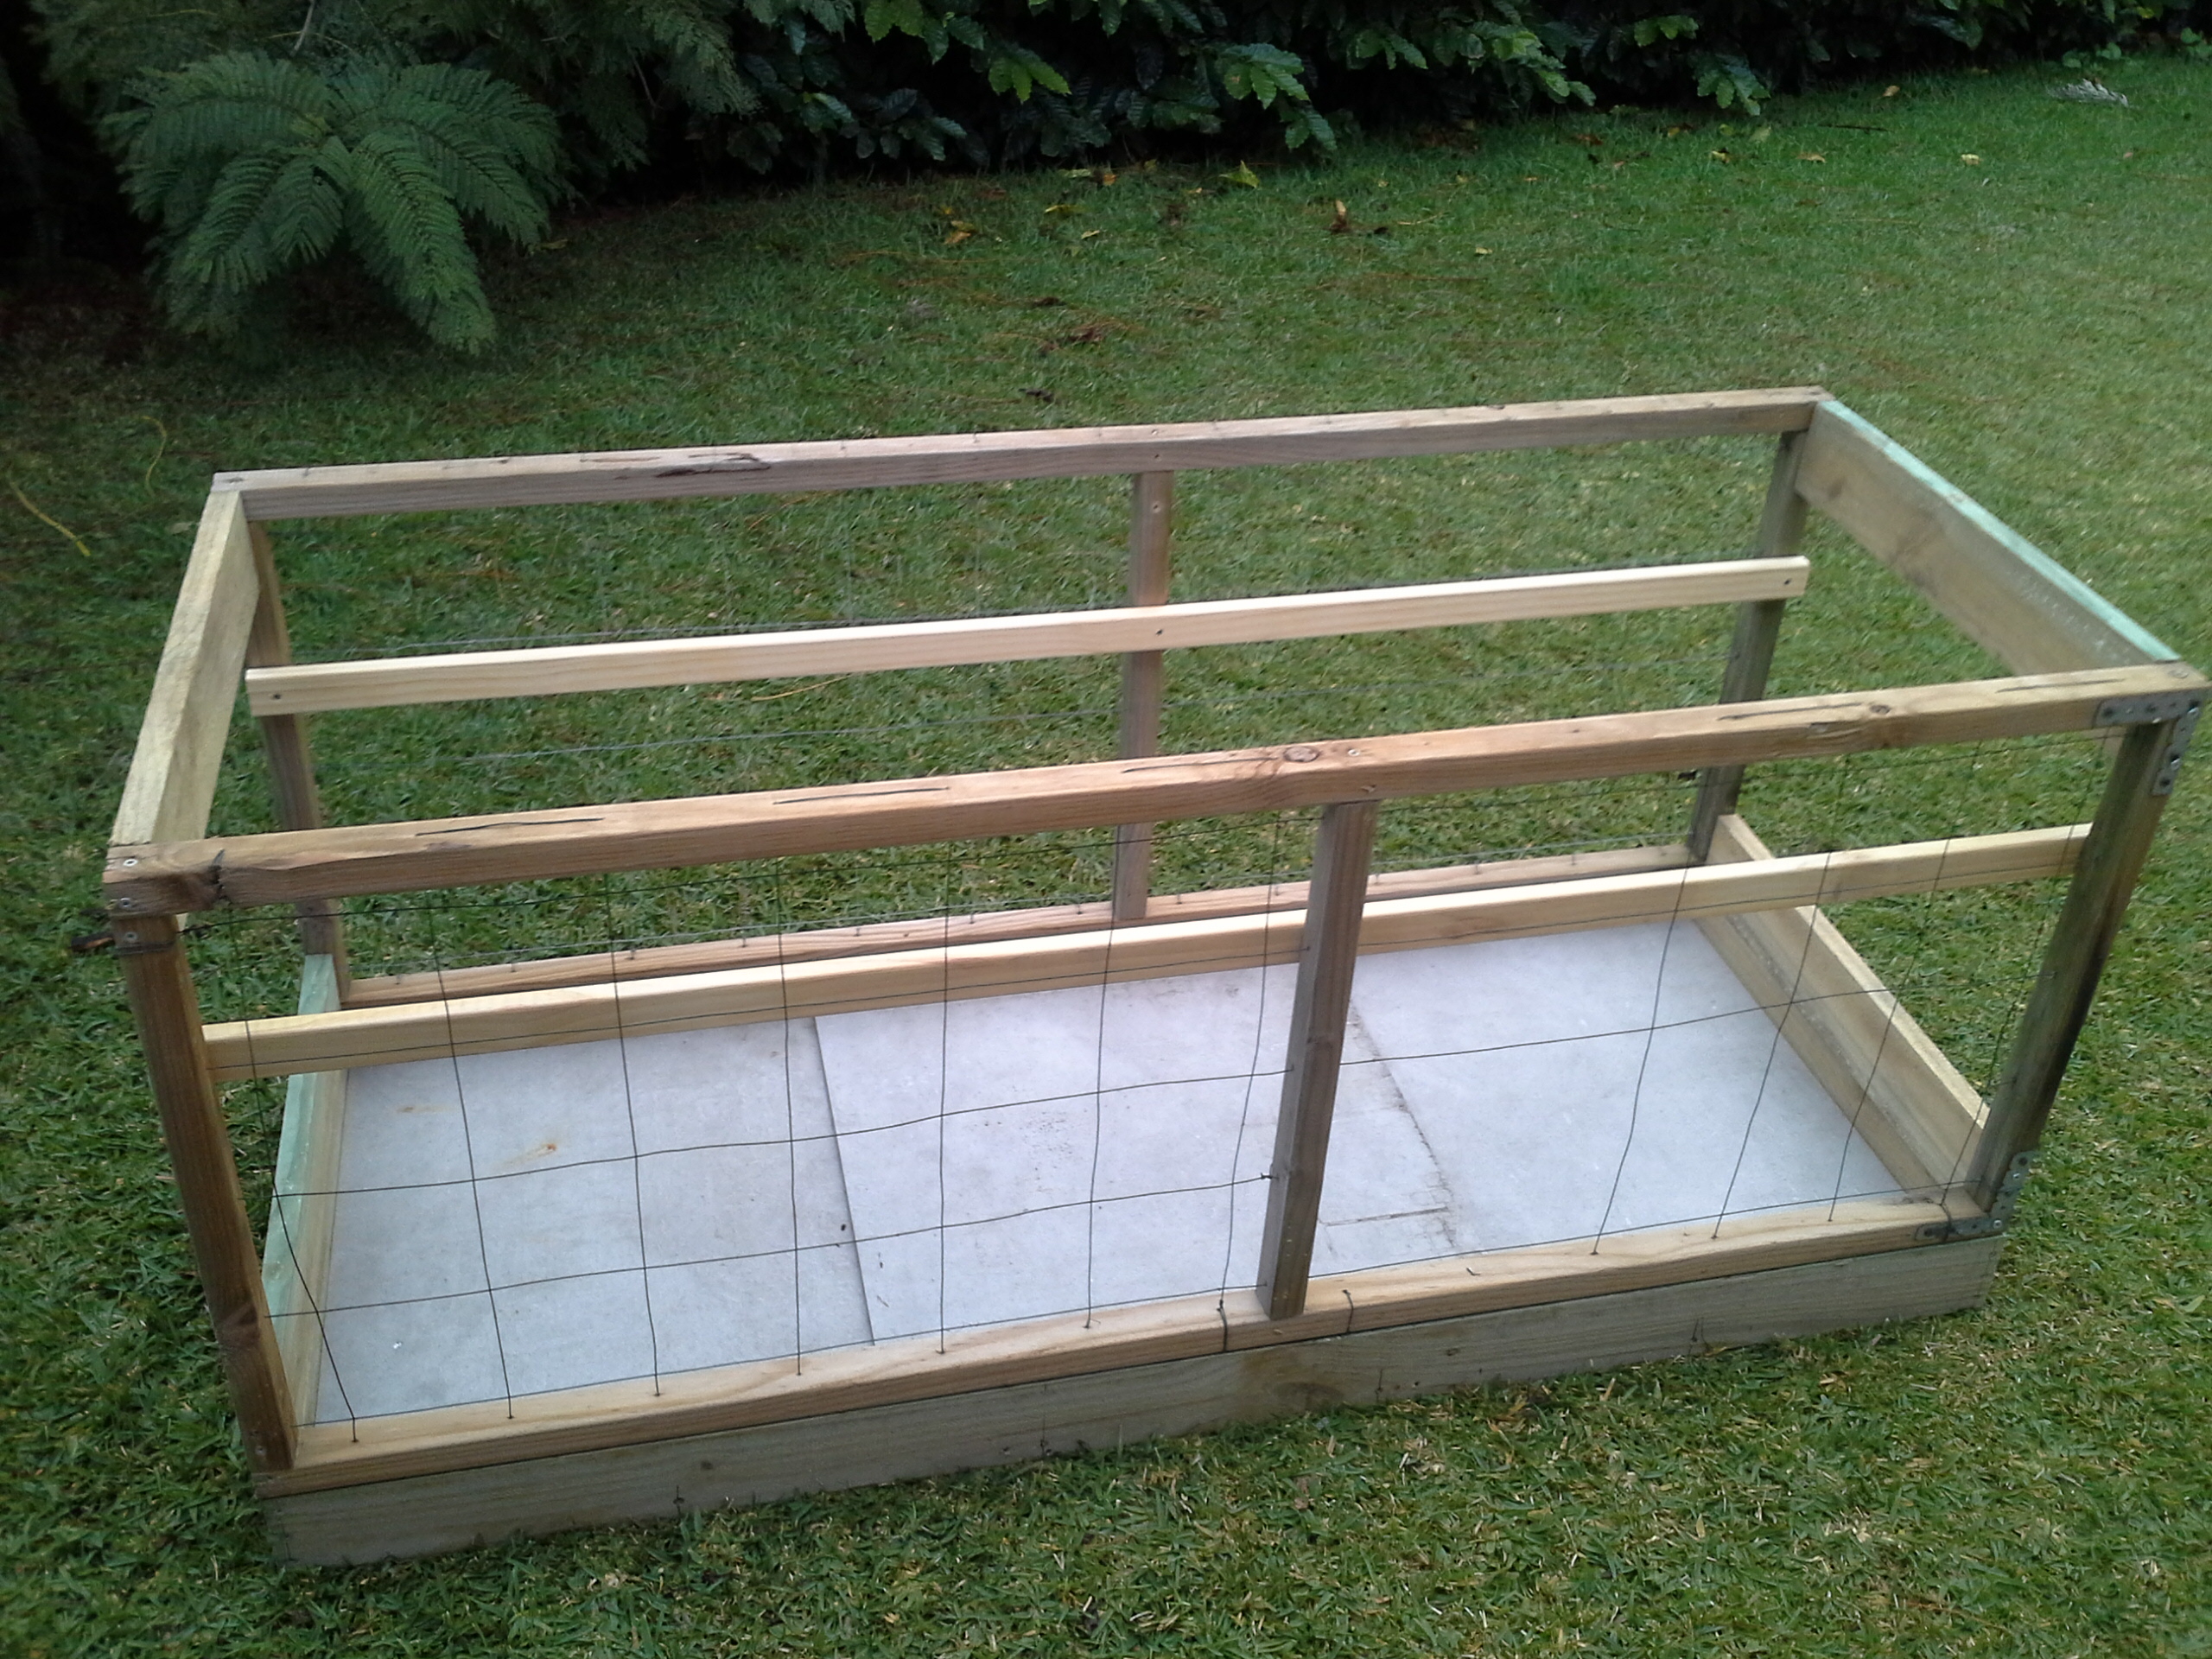
Next the walls. Using the two wooden frames on their edges I joined them together using 4 lengths of timber 60 cm long that were screwed into the corners to create a box. Well, a box without the lid or base - just the walls which are 60 cm in height. This 'box' fits neatly onto the edges of the rectangular base frame that I had just created. I grabbed four old hinges that I had kicking around and joined both parts at the long edge of the construction.

Thirdly the roof. I wanted an arch shaped roof, so I got the electrical conduit and cut it into four equal lengths. I drilled a couple of holes into the frames and inserted the conduit into them and bent the conduit carefully and inserted it into a hole on the other side. I repeated this four times and then adjusted the conduit so that they were all even. A couple of screws to attach them and the arch was done.
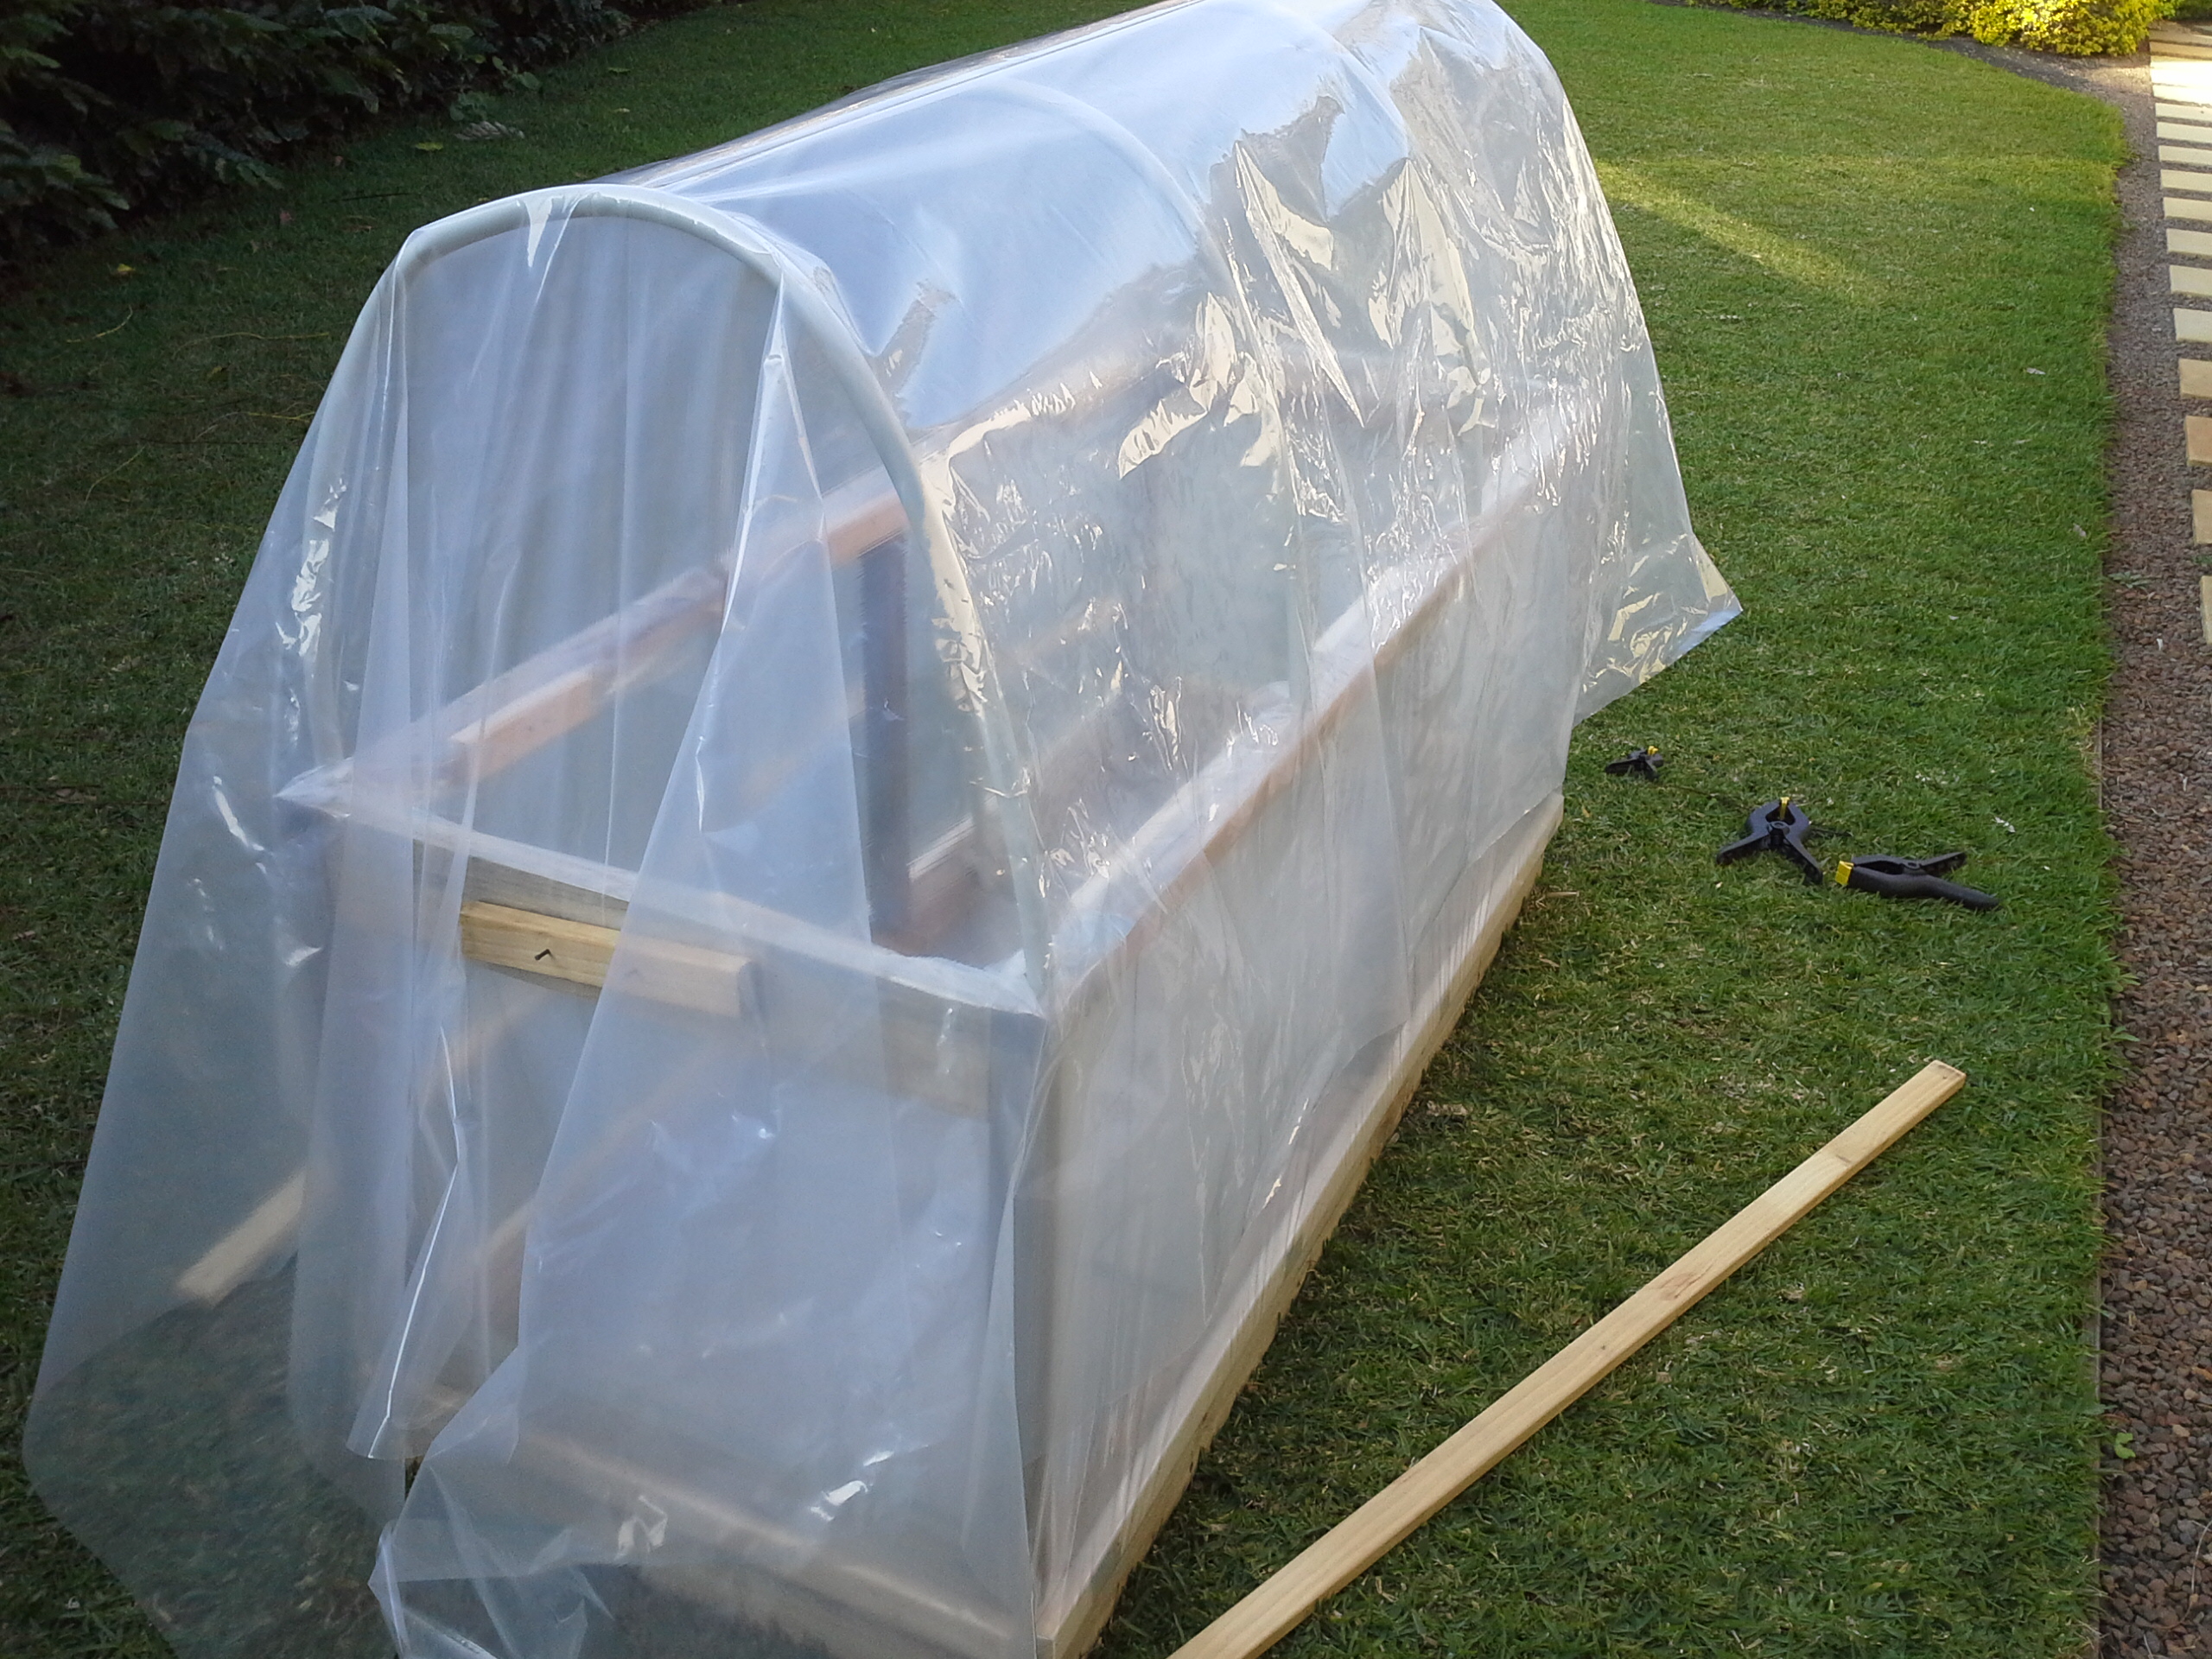
Followed by the plastic. I found some thick plastic at the local hardware. This was attached to the sides first using thin strips of timber to hold it in place as I stretched it around the structure. Carefully rolling the bottom edges around a piece of timber I was able to tighten the plastic and to firmly secure it into place. I then repeated this pattern for each of the four sides. Attaching the roof was a little more tricky though. In the same fashion as the sides, I rolled the plastic around a strip of timber along the long side and secured it. When the second side was rolled, I was able to pull the plastic tight and firmly secure it into place. The ends were more of a challenge though because of the curved roof, so I carefully folded into the ends a pleat and rolled them around a piece of timber and screwed it into position. Completing the second end gave me a finished greenhouse.
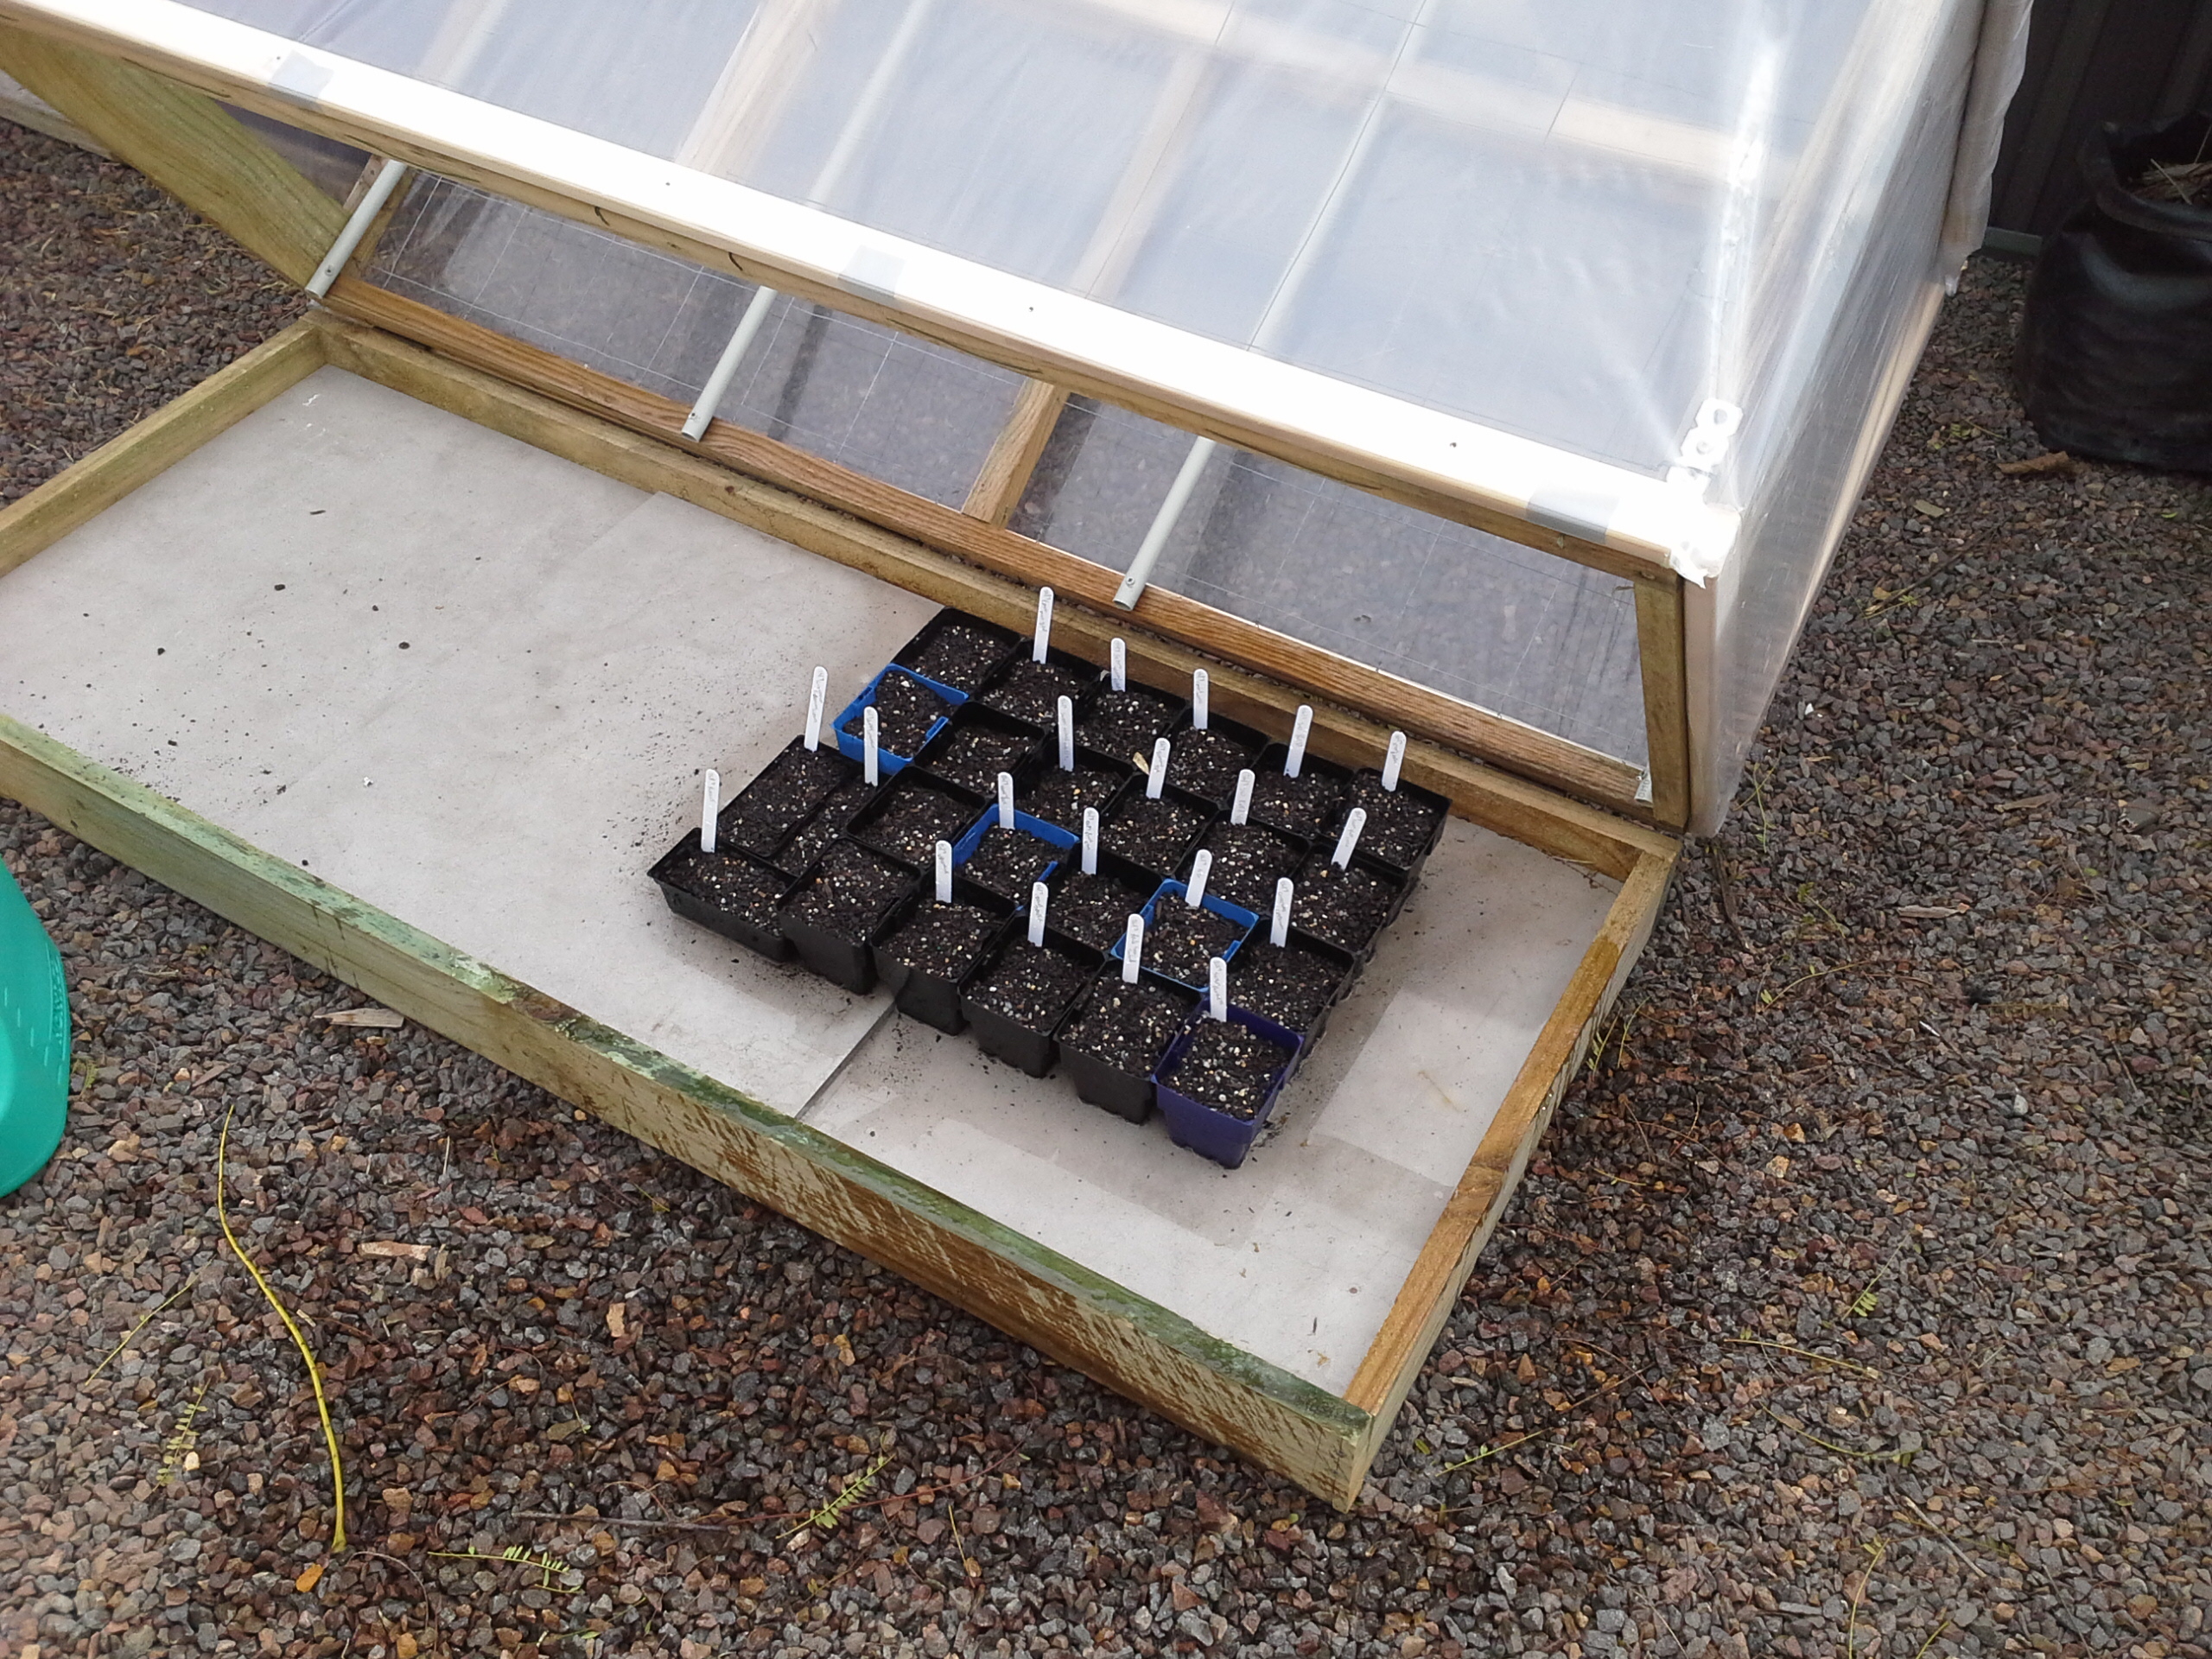
Finally, I moved it into location and attached a couple of finishing touches like a chain to stop the top from opening too far and I was ready to use it. It cost me $70 because I had a lot of material laying around. If I bought it all I reckon it would have cost around $175.
I am cured from the winter twitchiness that I found myself afflicted with. First sowing on the agenda is the tomatoes, basil, French marigolds, chilies, spring onions, lettuce and silver beet.
(BTW, the wife thinks it looks like a cathedral for the cat!)
]]>
Looking for more help?
Find out more about our services including garden advice, setup and design. Available within a 50km radius of Newcastle.